An email and a password. By the end you have a store with its own public page and its own QR code, without paying anything.
There is no plan to choose, no business type, no card to hand over. You sign up and the store is already there: from then on you just name it and start adding what you sell.
This guide is the whole sign-up, with real screenshots. Five minutes.

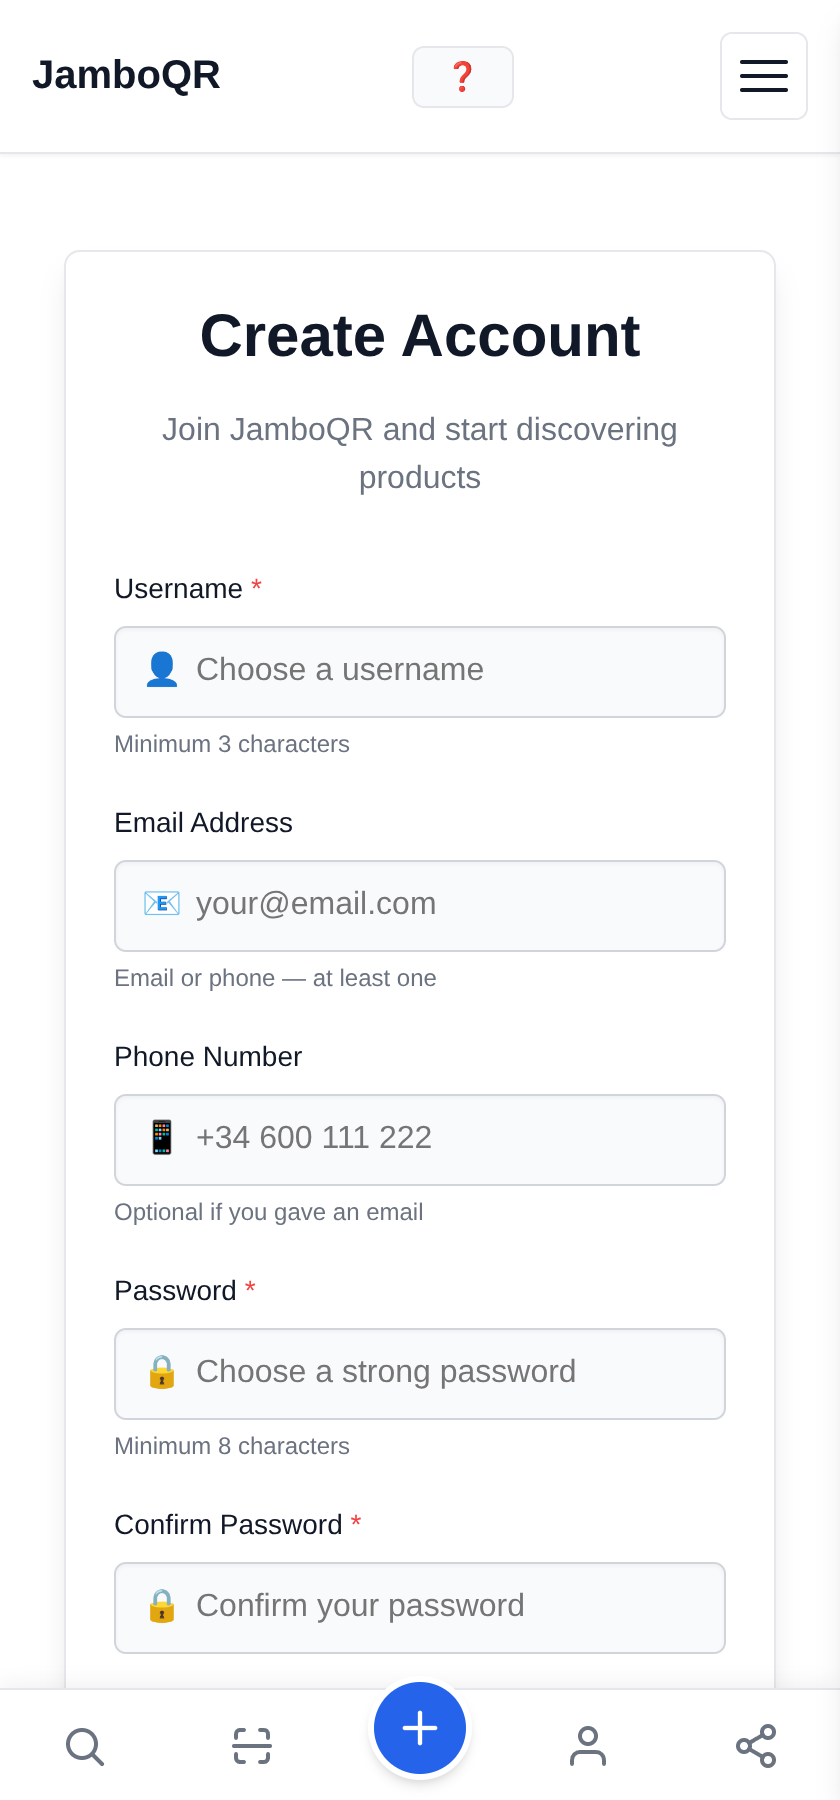
1 Create your account
A username, an email — or a phone number — and a password. That is all. It is free and no card is asked for.
The username is what you sign in with; your business name comes later and can be anything you like.
2 Confirm the email is yours
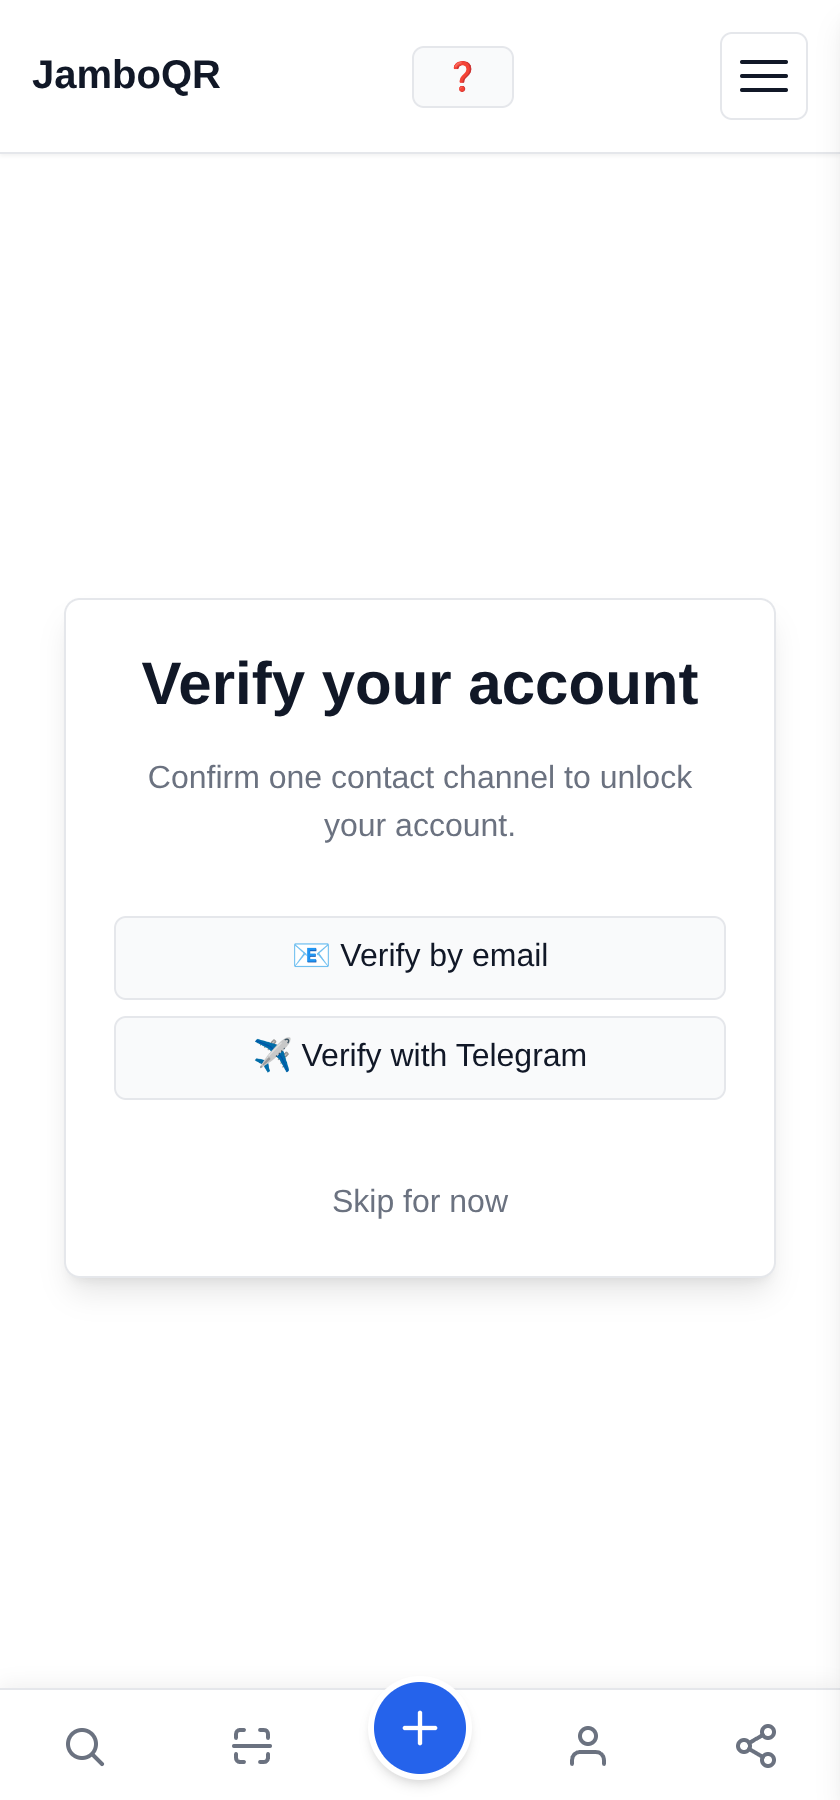
Tap Verify by email: a six-digit code arrives and you type it into Confirm code. Done.
You can tap Skip for now and come back to this same screen later, but do it soon — it is what proves the account is yours. If your server has Telegram set up, it shows up here as a second option.
3 Your store already exists
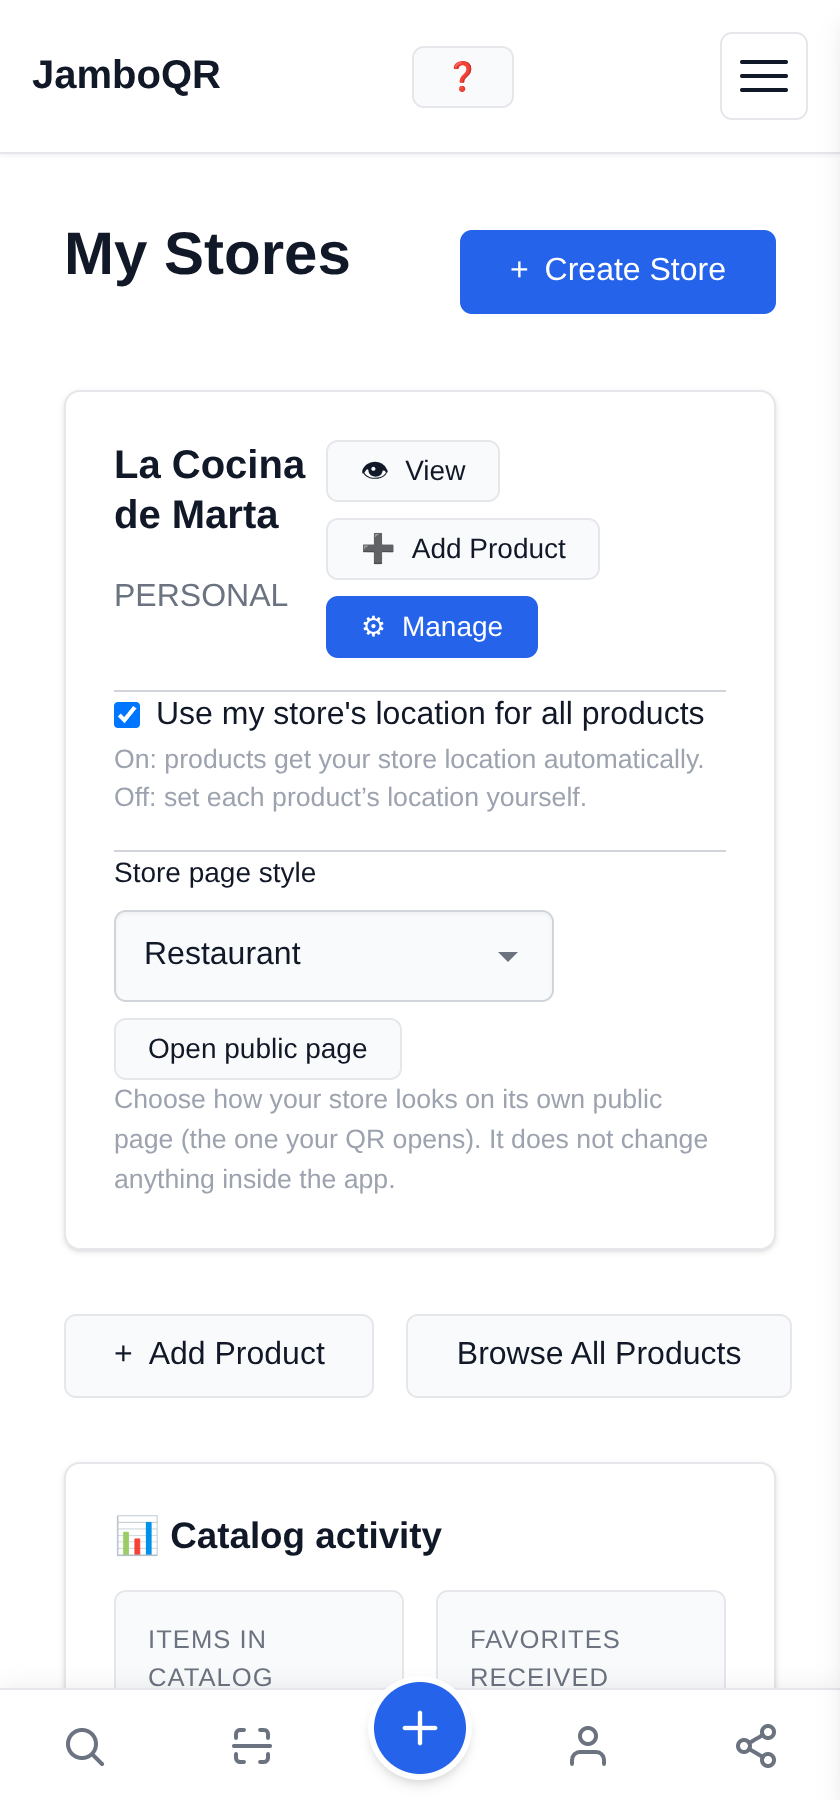
You do not have to create it. Signing up creates one for you — everybody gets one, included in the free plan — and you find it under My Stores.
4 Give it your name and your hours
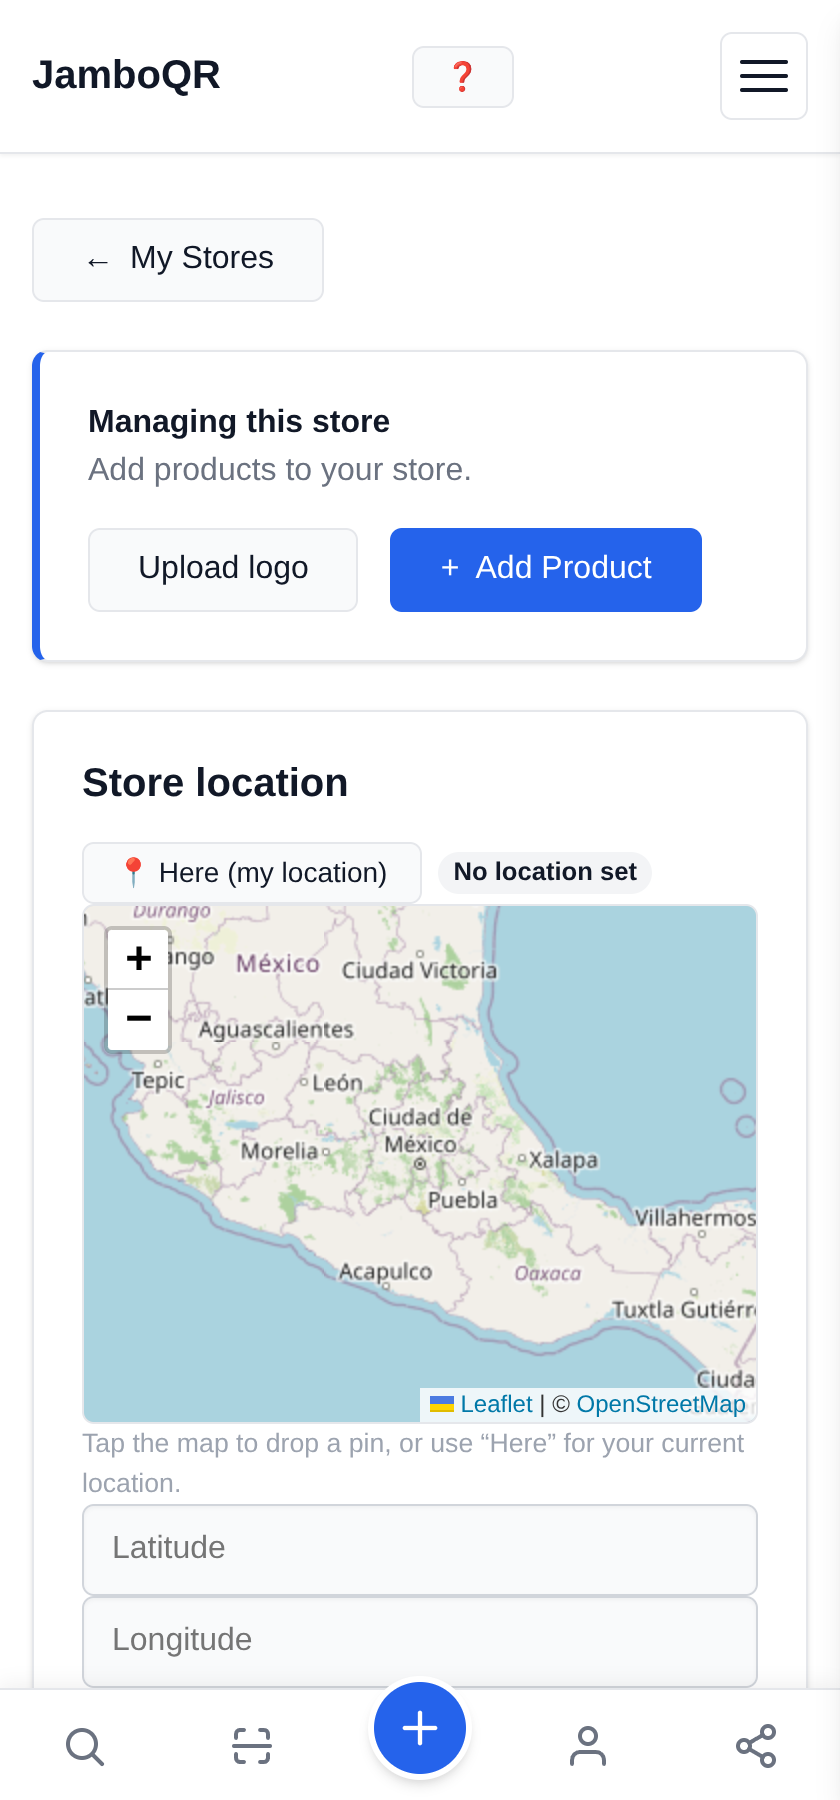
The business name, where you are, and what time you open each day. The hours do something concrete: your page shows an "Open now" badge by itself while you are open, and drops it when you close.
What next?
- Running a restaurant or a small kitchen? Carry on with the QR menu guide — it ends with the code taped to the table.
- Selling at a street market or a stall that moves? The mobile-store guide covers changing where you stand every day.
- Baking at home? The home-baking guide shows how to list a product that has no barcode.
- The account is free and does not expire. No thirty-day trial, no card.
- You can sign in with your username, your email or your phone number — any of the three works.
✈️ Telegram · @JamboQR · 𝕏 @jamboqrmx · Facebook · JamboQR · Instagram · @jamboqr